Create an app that would be available in multiple languages at once and improve the app experience for your users with our multi-language app feature.
Shoutem builder and features are by default in the English language which is the leading language in today’s world, but providing more language options means that you can expand to a wider app market and improve the rating of your app.
Back to the basics
Rules from our Localization tutorial are applicable here as well. For each language, you are required to translate English strings from this JSON file. For more detailed instructions, make sure to check the steps under Translating your App title.
Worth mentioning, translating strings in the JSON file will apply only to strings that are included in our features, so that means the content you add within the builder area will always be in the languages you saved it. Changing languages in the app will not change the language of your app’s content.
See the video tutorial on how to set up a multilingual app, and find the written steps below:
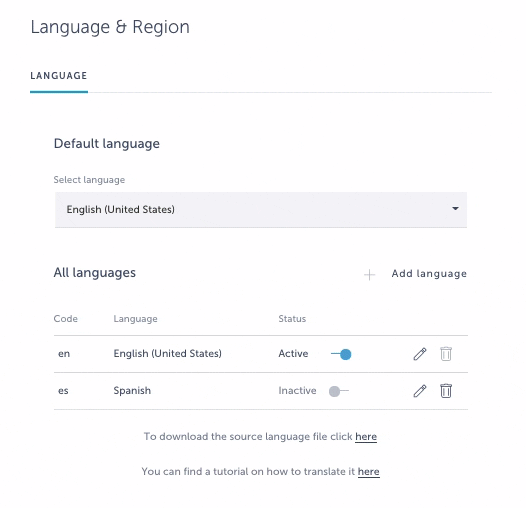
Language & Region Settings page
Open your app in the builder, navigate to the Settings page from the left bar menu and select Language & Region. It is important to properly add and activate your languages here or the multi-language support will not be configured properly.
Step 1. Upload your languages
Each JSON file stands for one language. Therefore, for each language, you are required to upload a separate JSON file and select the language for it as displayed in the following video.
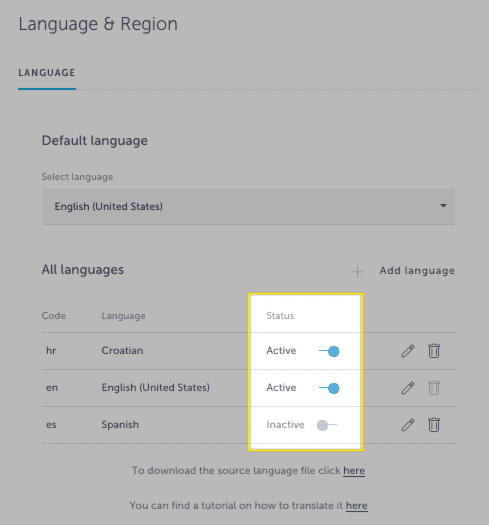
Step 2. Activate the language
For the languages you wish to have in your app, you need to set their status to Active by toggling the button status.
Default language
The selected language in the Default language dropdown will be default localization from the moment your app user opens the app. The dropdown menu will list the languages you have uploaded to the list.
The last step in configuration – assign content to upload languages
Last but not least, if this final step is not completed, some of your app’s content will not be displayed in certain selected languages. Depending on the size of your app’s content, this might be challenging, but make sure to include every item there is.
The steps are the same as when you are sorting your content items into categories. Only this time, you will be adding content items to languages – that will grant permission to access your previously uploaded JSON files.
The process
The following steps will need to be done on every screen your app has.
After you select one screen and click the EDIT ITEMS button, a new modal window will be opened where you can add and edit content for that screen. For each item, you will see a column Languages. The dropdown menu will list all your previously uploaded languages. If you want for that item to use multiple languages, select those languages as displayed in the following video.

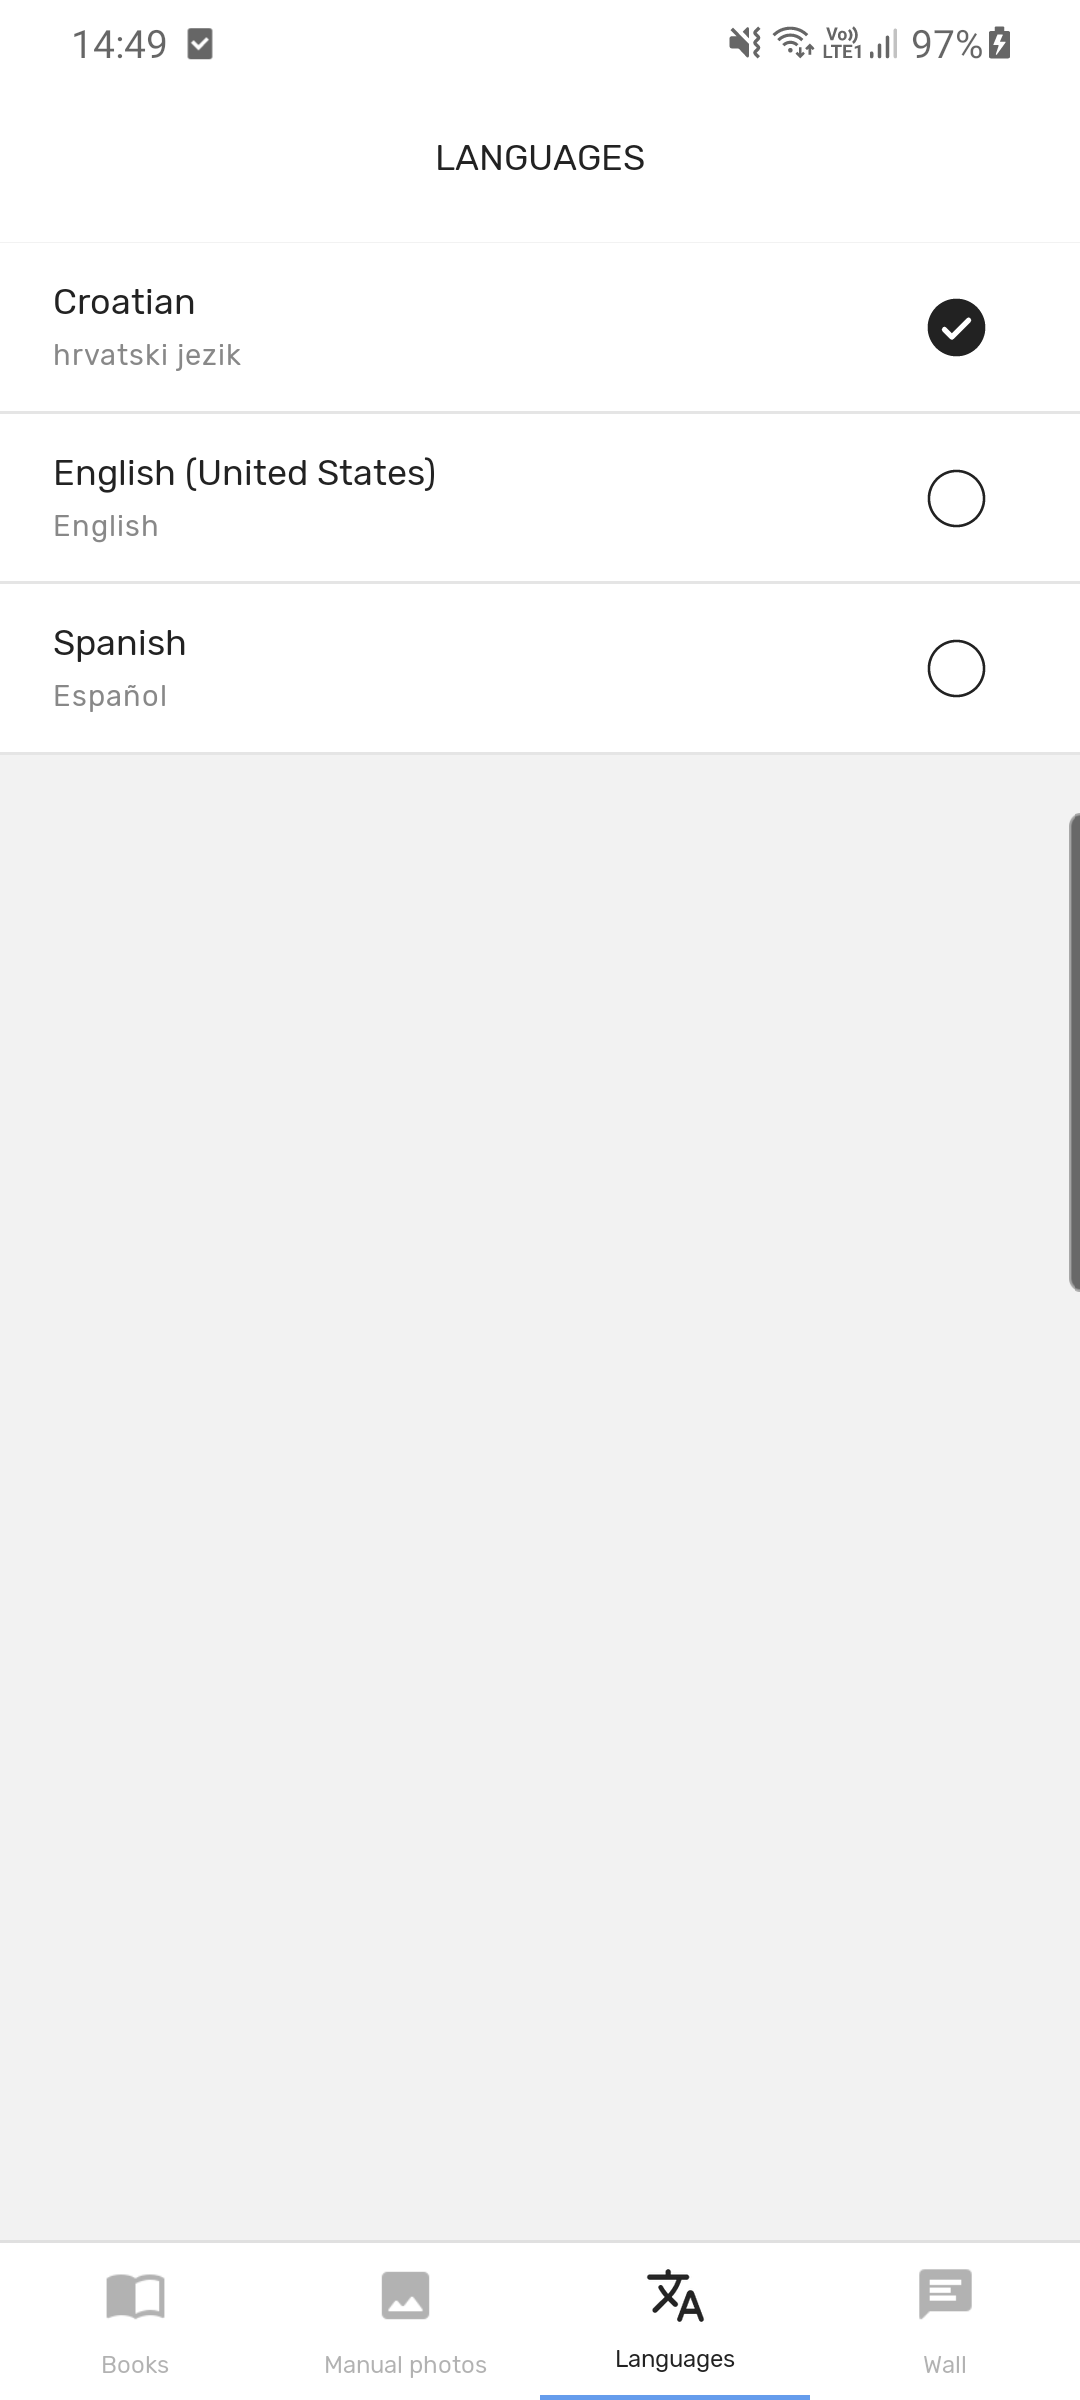
Add Languages screen to your app
In the Screens area, click on the + symbol and search for Language.

The language screen will automatically list available languages you have previously uploaded to the settings page in the builder. Here your app users will be able to select their preferred language.
CSV import option in Multi-language support
If you are using the CSV import option while filling your app with content, you can use our Importer to assign content items to languages and save some time! The importer will do all the work.
Before you start importing your content, make sure you have uploaded (Step 1.) and activated (Step 2.) desired languages on the Language & Region Setting page in the builder.
CSV file
A general overview of how content can be imported via CSV files is shared in our support article here, CSV file format stays the same, you don’t have to add additional columns for your languages.
Import
When the CSV import wizard is opened, you will have a field for CSV data source where you need to attach the CSV file you want to upload, and you will see Import to languages option. In the dropdown menu, the importer will list all your previously uploaded and activated languages. Make sure to select each one before proceeding with the import.

How does it work in the app?
On the Languages screen, the app user selects the preferred language.
If the selected language is not visible right away while you are still using the app, use the pull-to-refresh action as shown below, or simply reopen the app.

